Moto Z2 Force review: Nothing less, nothing more
Nothing less, nothing more

Double Vision
The Moto Z2 Force is the company's first flagship device featuring a dual-camera setup. Like a bunch of other dual-camera setups, this one uses dual-12MP cameras. Though, unlike the iPhone or OnePlus 5's solutions, this one takes the same approach as Huawei's Leica camera setup: one 12MP sensor is RGB (color) while the second sensor is black & white.
Both sensors have an f/2.0 aperture, which isn't quite the f/1.7 aperture on other top performers like the Galaxy S8 and the HTC U11 (the closer to zero, the more light that's allowed into the sensor). Motorola isn't exactly the leader in photography, so we're excited to see that Moto is taking photography more seriously with this new dual-camera setup. Let's see whether the camera's 2nd camera does make a good impression on these photos.
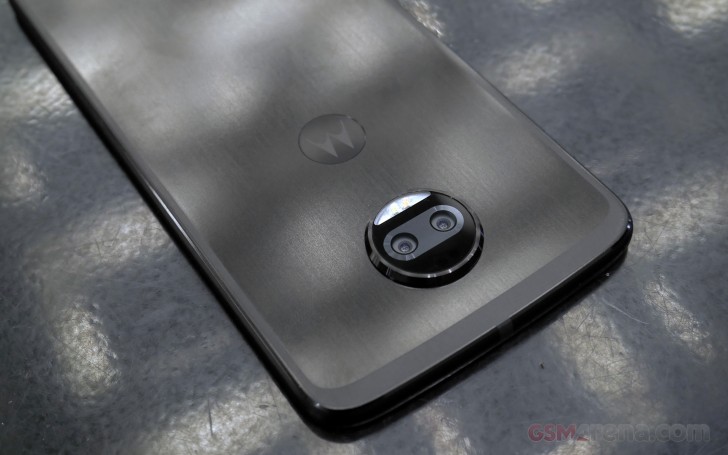
In addition to laser-assisted autofocus, the dual-camera also uses phase-detection autofocus. Laser-assist works to quickly focus on subjects that are not too far from the camera; otherwise, PDAF kicks in for focusing other, further parts in frame.
The first thing worth mentioning is the double-twist action to launch the camera. It works every single time and the camera starts up right away. If you find your hands full, double-twisting while the camera app is open will toggle to the front camera. We'll find ourselves missing this feature when we have to send the Moto back.
We're glad that Moto no longer defaults the camera to a 16:9, sensor-cropped aspect ratio. Moving along, let's dig right into the interface. The camera supports scanning of QR codes, business cards, or regular barcodes right out of the box.
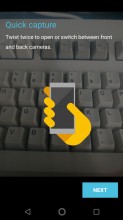

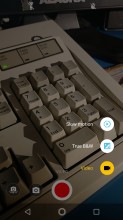
Double twist to open • Business cards and QR code support
In the past, Motorola used an oversimplified camera interface but has since morphed into a more elaborate camera experience. For one, there's a shutter button, which was optional in the first Moto Z. The other option was to tap anywhere to take a photo. In the Moto Z2 Force, you can do either one.
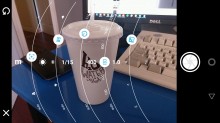
To the left are very basic camera shortcuts: timer, flash, and HDR settings. A swipe to the right reveals a menu with more options: enable assistive grid, toggle quick capture, or change various resolution settings. Swiping to the left lets you scroll through the most recent pics in your camera roll. Swiping vertically or pinching controls the viewfinder's zoom.

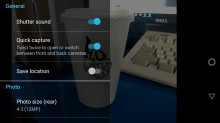
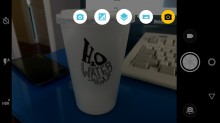
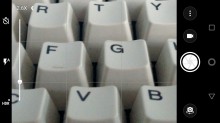
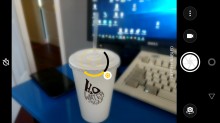
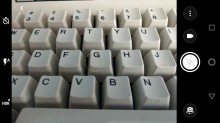
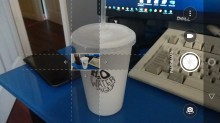
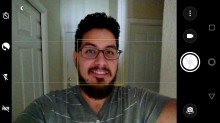
Camera interface • Settings • Camera modes • Zoom
Professional mode lets you manually adjust ISO, shutter speed, white balance, and focus. The downside is that the professional camera mode won't let you choose a shutter speed slower than a quarter of a second. This really hinders the camera's low-light ability, even with a tripod.
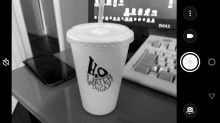
The Z2 Force can take pure black & white photos by using the other 12MP monochrome sensor. Since black and white photos don't rely on color, they feature better dynamic range and result in less noise in lower lighting conditions.
Depth mode has a few different uses, but the one that most will use is the blurring of the background: take a photo of a subject and the camera's second eye will make out what is in the foreground and try to blur what isn't. This simulates a bokeh effect from DSLR cameras without relying on aperture.
Finally, when the camera is in low lighting conditions, you'll see a crescent moon in the corner of the viewfinder signaling you to keep the camera steadier.
Image quality
The Moto Z2 Force is a premium device with a price tag to prove it. That said, while we're not totally satisfied with the images, we're not dissatisfied either. Yes, there are definitely better cameras out there in phones that are priced lower (HTC U11, Google Pixel). That said, we'll approach image quality with a reasonable amount of criticism.
In ideal lighting conditions, the Z2 Force produced pretty good-looking photos. Although dynamic range isn't excellent in some scenes, we like the resulting images. Processing noise is barely there as a result of the second camera sensor, and details are crispy. Briefly going back to dynamic range, it's difficult to expose for light coming through the foliage in the trees; we'll be able to better test this in the HDR section below.
Color reproduction is not consistent: sometimes the scene is colored very well, while other times colors look washed-out. Particularly, scenes with reds in the frame tend to throw off the white balance, resulting in dulled-out colors. Red is the most difficult color for a camera to grade properly, and the Moto Z2 Force's camera is clearly affected by this. Besides the reds, color reproduction was quite good.
Focusing is somewhat of a mixed bag. It'll usually get it right but if you're not careful, the camera might see right past the subject and focus on the background. Do yourself a favor and disable the "tap anywhere to capture" option so you can select your focal point the way it was meant: by tapping the spot on the viewfinder. Otherwise, you'll have to drag the focal point around, which is more cumbersome.
After reviewing sample shots, we are glad to say that the Moto Z2's dual camera has significantly improved over last year's iterations. Way to go, Moto!
HDR
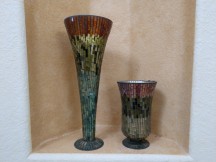
The Z2 Force has two HDR modes: Auto and ON. The following samples were taken with HDR ON. We have to say we were impressed by the results. We'll say that the HDR mode does a much better job of making shadows more visible, but has more trouble suppressing highlights. Regardless, HDR improved high-dynamic exposures in scenes.
We tossed in one sample from the Huawei P10. The Moto Z2 Force rendered better details, colors, and exposure than the Huawei P10.
Low-light samples
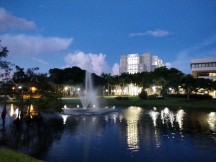
Shooting in low light with any smartphone camera requires a bit of know-how if you really want to get a good shot. The Z2 Force's shutter speed does not go any lower than 1/15th of a second in automatic mode while maxing out ISO at 2,500. Despite the high ISO, the fountain scene's noise was pretty well-managed.
In the first sample below, we took the photo in manual mode. It's a shame you can't manually set the shutter speed to a longer setting. Even a one-second exposure time could have made a great image.
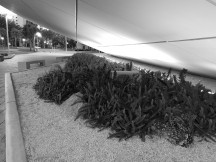
B&W versions of the scene are added to show its low-light performance as well. B&W tends to do better in low light since there are no colors to process, only shades of black. Noise starts to appear in higher ISOs.

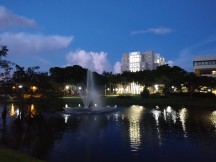
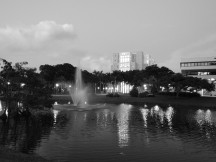
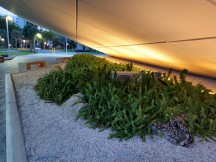
Manual mode • Auto LL mode • B&W
Mind you, these shots were taken on a tripod - take it off the tripod and you'll see a huge difference.
Here are some more low-light sample shots. Here's a tip: don't overdo HDR mode in low-light situations. The HDR tries to increase exposure using software, which degrades the finer details (see last low light sample below). The best situation we found was letting the camera detect itself in Low light mode (the crescent icon) and then shooting the scene with a tripod.
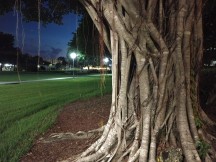
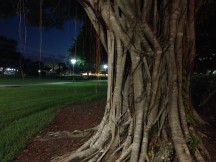
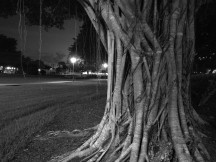
Auto LL mode • Manual to 400 ISO • B&W
Black & White samples
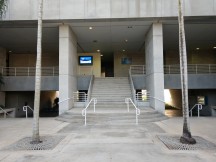
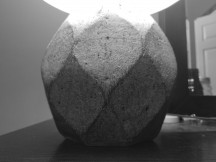
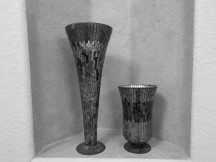
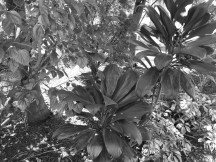
The Moto Z2 takes black & white photos by using only the secondary camera from its dual sensor setup. The staircase photo and the outdoor one both yielded some really excellent details. Dynamic range could still use some work, particularly (again) suppressing highlights.
Depth mode
Since the phone has two cameras, it can also understand depth perception. Well, to a certain degree. We'll say that the depth effect on images isn't too bad, but you CAN tell around our subject's wandering locks of hair.
Our subject was facing a diagonal, so you can see the shirt slowly fade out of focus as you look toward his right arm. Surely, you'll get a better result if your subject has a more defined outline. Avoid taking photos of subjects really close to the lens or you'll get a photo with an indistinguishable bokeh border.
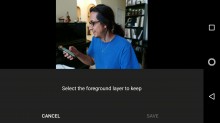
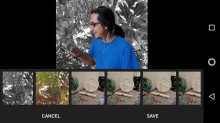
There are a few ways to edit the depth shots right from the phone. You can make anything in focus as the only thing in color, you can refocus on an existing depth image, and you can replace whatever is in the background with an image already on your phone. The latter doesn't work perfectly, then again, both it and "Selective B&W" are in BETA. So you can expect these will improve over time.
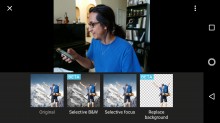
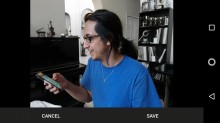
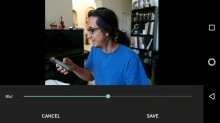
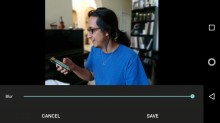
Editing a depth-enabled image • Selective B&W • Adjusting blur effect
Panorama
Taking a panorama is simple on the Z2 Force. In fact, the Moto Z2 can take panoramas either vertically or horizontally. After pressing the shutter button, start moving the camera in any direction. Sweep the scene and the image will start stitching when you stop capturing.
If you're taking a side-to-side shot, you'll wanna hold the phone portrait and hold it landscape if you're taking a vertical panoramic shot. This way, you get more field of view into the panorama. The first panorama was taken in landscape orientation and the second one in portrait. See the difference in field of view for yourself.
5MP selfie camera with dual LED flash
The selfie camera is the same one from the Moto Z: a 5MP fixed focus sensor. The only update to this camera is the addition of a second LED for the front-facing flash, making it dual-tone like many other smartphones these days.
There's facial detection for correcting exposure, HDR modes, and a beautify filter. You can manually adjust beautification or you can let Moto take the wheel with automatic beautification.
Selfies were okay. In good lighting, the front camera is able to pick up a nice amount of details in the background. Considering the camera is 5MP, it's able to pick up a considerable amount of background details.
HDR doesn't really improve much if you've already got good selfie lighting (in this case, light from a window). Toggling HDR ON in a selfie will raise shadows, so use it sparingly.
The beautification option can be selected between 1 and 7. There's also an "Auto" option, though we're not sure how it decides how much beautification someone's face needs.


HDR OFF • HDR ON • moderately beautified
Selfies in low light are somewhat decent, though you'll definitely see more noise if you switch HDR ON. We do enjoy that there's a dual-LED flash dedicated to the front camera as well. It works well in a pinch.


Low light selfie: HDR OFF • HDR ON • Flash on
Video
The Z2 Force can record up to 4K resolution at 30fps (though it's technically 29 fps). Otherwise, the camera is also capable of recording 1080p video at 60fps.
The video produced by the Moto Z2 Force looks excellent: details are very clean and colors are very well reproduced with minimal noise. The downside is that we experienced focus hunting in every video mode we tested. We can attribute that to cars heading toward the camera at high speeds and the intended focal point should have been manually set.
Typically, 1080p's 60fps mode sacrifices image quality to pump out double the amount of frames and we can say the Moto Z2 Force is no different. Video taken in 60fps takes a significant hit in image quality. The difference is more noticeable in the image stabilization test samples than in the video filmed on a tripod.
While there isn't a fully manual video mode, there are two other modes: slow motion video and B&W video. You can select either 720p@240 fps or 1080p @ 120 fps for slow motion.
The video recorder has a dedicated viewfinder, which changes the available shortcuts on the left side. There's a stabilization toggle and a torch shortcut. When you turn on the video stabilization feature, you'll notice the field-of-view will crop a bit in the viewfinder to compensate for extra camera movement.


Video stabilization OFF • Video stabilization ON
We tested each video mode with and without stabilization. We saw that a toggle for stabilization exists for 4K, and while it does crop the frame in a little bit, we don't think it really stabilized anything. It could just be that the stabilization is not working in this early build of the phone.
Stabilization works well in 1080p @ 30fps, and that's about it. While the 60fps walking sample was pretty decently stabilized, it's quite disorienting to watch first-person footage with 60fps regardless of whether it's stabilized or not. That aside, stabilized 60fps video took a significant hit in image quality where the highlights blended with the foliage in the trees. 4K video suffers from the same thing, only stabilized 4K doesn't even look significantly stabilized in comparison to the improvement of stabilized 1080p @ 30fps video.
As always, you can check out the original video samples at these links: (2160p @ 30fps (~96MB) / 1080p @ 30fps (~32MB) / 1080p @ 60fps (~32MB).
Reader comments
- Anonymous
- 22 Feb 2019
- ITL
Very nice phone 6 to 7 hours on wifi using continusely
- Ferit
- 29 Dec 2018
- knc
all those nice details the B&W sensor captures don't affect the color picture though, right? The color picture is only as detailed as the color sensor captures.
- Anonymous
- 09 Oct 2018
- gMy
Hey can you tell that now in India in festival offers, I am getting this phone for $250/ . It's a really good deal or I choose to go with new device? Please tell
