Galaxy Camera vs. 808 PureView: Shoot 'em up
Shoot 'em up
Camera UI
Nokia 808 PureView
The camera interface of Nokia 808 PureView is pretty straightforward. Along the right edge of the viewfinder you'll find the still/video camera toggle, the virtual shutter and the gallery shortcut. There's a setting shortcut in the top middle that is labeled with the currently enabled mode (e.g. "C2 8MP" is custom setting #2, 8MP resolution).
The left edge of the camera changes depending on which mode you enable - it can be as little as a flash mode setting or as much as a column of five settings you can adjust manually.
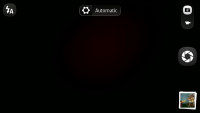
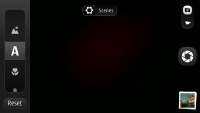
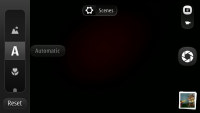
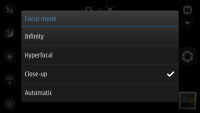
Nokia 808 PureView camera interface
There are three available capturing modes to choose from - Automatic (for the pure point & shoot experience), Scenes (if you want some control) and Creative (which puts you in the driver's seat).
Except in Full resolution, all other modes get you the enormous benefit of pixel oversampling and the impressive loss-less digital zoom.
Automatic mode produces 5 megapixel images, using the PureView oversampling technology, which are of pretty good quality and have a file size that makes them easy to share.
Scenes let you give the phone a hint about what it's photographing - snow (a lot of white reflective surface), spotlight (a dark stage with the band in the bright spotlight) and so on and are good enough if you're in a hurry. There's instant preview how the photo will look if you go for the selected scene. Just like automatic mode, Scenes produces 5MP 16:9 photos and you can't change that. Your photos are still a product of the oversampling technology and you still have control over the loss-less digital zoom.
Finally, we get to Creative mode - it gives you full control of the camera and you can pick what sort of a resolution you'd like the camera to produce. You can go for the full-resolution mode or keep to the PureView mode to enjoy extra sharp and noise-free images thanks to oversampling. PureView produces 5MP photos by default, but you can choose 3MP or 8MP as well. Loss-less zoom is present in the three resolution modes.
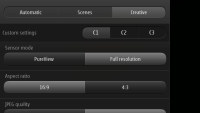
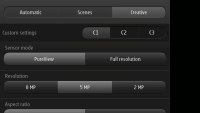
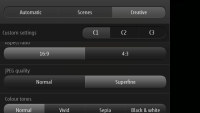
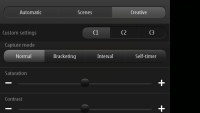
Nokia 808 PureView camera interface
Nokia has devised a handy way to zoom that they call "Slide zoom". You put your finger on the screen and drag up to zoom in and down to zoom out. You can use the volume rocker too. How much you can zoom in depends on the resolution you've chosen.
The implemented zooming gesture allows you to keep both hands on the phone and zoom using your thumb only. This reduces camera shake, which can make the difference between a tack-sharp image and a blurry mess when you have zoomed in too far in.
And don't worry - the slide zoom doesn't mean you don't get touch focus. You do - in fact, you can tap and hold on the viewfinder to get several focus modes (Automatic, Close-up, Hyperfocal and Infinity).
Creative mode also lets you pick the aspect ratio of the photos (4:3 or 16:9), JPEG quality (Normal and Superfine), color tones (Normal, Vivid, Sepia, Black & White), capture mode (Normal, Bracketing, Interval, Self timer) and finally, sliders for saturation, contrast and sharpness. You can also enable a viewfinder grid, control the focus assist lamp and the waking the phone with the shutter key.
In Creative mode, you also get access to several controls in the viewfinder. You can adjust the exposure compensation (and you get a histogram while doing so, which is really cool), set the ISO (from 50 to 1600), change the flash mode, the white balance and the neutral density filter (which can be set to Off, Automatic and On).
The video camera interface looks a lot like the still camera. You still get Automatic, Scenes and Creative modes and their settings are similar to those of their still imaging counterparts.
You do get two extra settings - you can toggle the Video light and the Continuous Autofocus (CAF). If CAF starts hunting for autofocus too often, you can disable it. This will enable Hyperfocal mode, which should keep most things in focus (unless they are less than a meter from the camera).
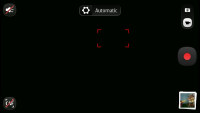
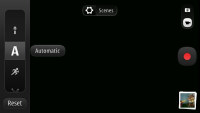
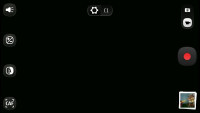
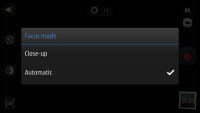
Nokia 808 PureView camcorder UI
With creative mode, you can pick from several resolutions and frame rates. The resolution settings are 1080p, 720p and 360p. For frame rates you get the most popular options - 30fps, 25fps, 24fps and 15fps. This lets you play cinematographer with 1080p@24fps or put the 808 PureView through the indignity of shooting a 360p@15fps video for an MMS message.
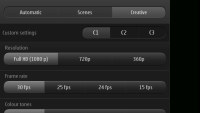
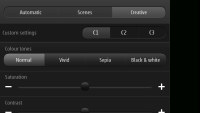
Nokia 808 PureView camcorder UI
The really good news is that zooming works in video mode too, even during recording. In the highest resolution mode you get up to 4x lossless digital zoom and that number even goes up as the resolution goes down - 6x for 720p and a whopping 12x for 360p.
Nokia's Rich Recording technology allows the 808 PureView to record both very low frequencies and very loud sounds (up to 140-145dB) without distortion - they claim it produces "almost CD quality" audio.
Samsung Galaxy Camera
The Galaxy Camera UI is pretty well designed, too. The right side of the viewfinder has just three controls - an expandable mode key and virtual shutters for both still images and video recording. This means that you don't need to switch modes to record either or stills - you can do both from the same viewfinder.

The Galaxy Camera viewfinder
The Galaxy Camera also offers the option to snap a photo while recording video. You just tap the virtual shutter button while recording and you get a 4MP still shot. That's a bit disappointing, considering that the Galaxy S III does 6MP stills while recording video and that one has a far lower-res sensor.
Another impressive feature of the Galaxy Camera lets you pause the video recording and continue at a later point. This means that you can combine several scenes in a single clip, without having to use extra software for it.
The left side of the viewfinder has the Home key that will exit the camera UI and take you to the Android homescreen, a shortcut for advanced settings, a small arrow next to it will open a submenu with some quick settings - turn on/off voice commands, flash settings, timer, video resolution and quick share.
The voice commands are pretty much self-explanatory and all available commands are showed when you turn the option on. Once you enable them, the Galaxy Camera will start listening for specific words. Let's say you mounted the camera on a tripod for a group shot. You just need to say Take a Picture and the Galaxy Camera will do it.
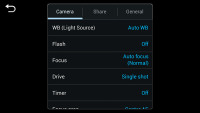
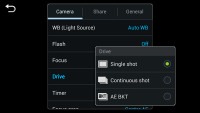
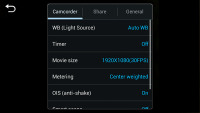
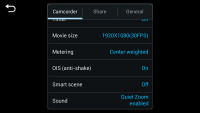
The advanced settings menu offers three tabs - camera, share and general. In the camera tab you can change the resolution, the focus mode, the white balance, turn on/off face detection and the optical image stabilization, choose shooting mode (normal, continuous, automatic exposure bracketing), set timer or edit metering. The Share tab is self-explanatory, while in the General you can set some sound options, file names, preview settings, etc.
The last thing on the left of the viewfinder is the gallery shortcut.
At the bottom of the viewfinder there is a small arrow which pops up the effects menu. We would have prefer some more advanced settings here than those effects.
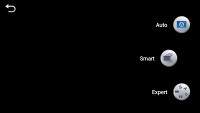
All the advanced settings are accessible via the Mode key on the right. Tapping on it will reveal three small shortcuts - Auto, Smart and Expert.
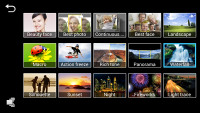
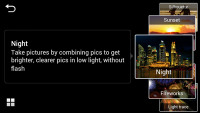
The Auto mode do everything for you and we assume it will be the one to be used most frequently. The Smart is actually scene selection with a few advanced modes - you have the usual landscape, beauty face, night shot, sunset, etc. presets as well as continuous shot, macro, panorama and smile shot.
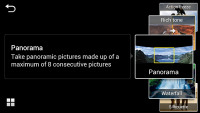
The Panorama shots is made of 8 consecutive shots, but the output resolution is rather disappointing - just about 5800 x 550 pixels. And the quality isn't that good either.
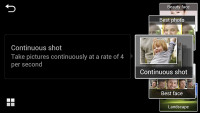
The Continuous shot can take up to 20 full-resolutions pictures with single tap-and-hold on the shutter.
Other of the modes are similar to continuous shot, where the camera takes a few pictures and you chose which is best to save.
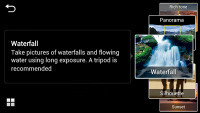
The Waterfall mode is rather interesting - you must use a tripod and the Galaxy Camera will take a shot with long exposure to create the desired effect.
As you can see there are lots of presets to put photography newbies at ease.
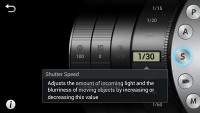
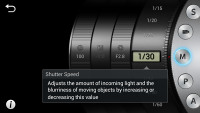
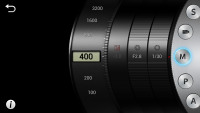
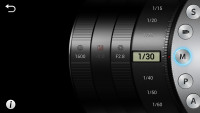
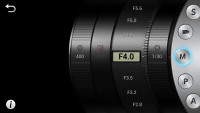
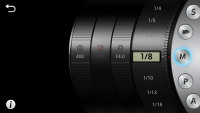
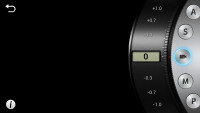
Finally, if you choose the Expert mode, you'll gain full control of the camera via five virtual lens rings. The smallest inner one offers a few extra modes - Videos, Aperture priority, Shutter priority, Program mode and full Manual mode.
So, as you can see from the shots there are four dialers with settings - you can adjust the shutter speed (1/2000 - 16), the aperture (F2.8 - F8.0), the exposure compensation (-2.0 to + 2.0) and the sensitivity (100 - 3200).
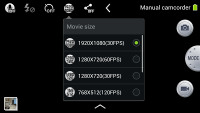
If you select the advanced video recording mode, you get only one dial - with exposure compensation. But once you are here you can select the alternative 720p@60fps ultra-smooth and 768x512@120fps slow-mo options from the settings (pop-up menu, top right corner) or dig into even more advanced settings from the additional settings screen launched from the rack-wheel icon (image stabilization, white balance, metering, timer and quiet zoom option).
We recommend the quiet zoom setting otherwise the buzzing zoom gets really annoying.
The two camera UIs are completely different and have nothing in common. The Creative Presets on the 808 PureView will do enough job to satisfy the vast majority of the users, but surely they won't be enough for some.
That's where the Galaxy Camera UI steps in with its full manual mode. It also offers more settings in other areas, too, but as a result its menu is a bit cluttered and hard to navigate. On the other hand the full auto and many scenes mode should do just fine for those that don't know what aperture is and what it does.
Image galleries
Nokia 808 PureView
The gallery app on the Nokia 808 PureView displays the photos in a grid (3 columns) and you can scroll up and down (with kinetic scrolling, of course).
There is an option to select multiple photos for deletion straight from the grid view. But gallery can't organize images into albums and can't share multiple photos.


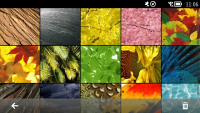
The Nokia 808 PureView image gallery
You can delete, crop, send or share photos with a handy Facebook shortcut available at the bottom of the screen. You can share a photo on Flickr too, but you have to go through the Share menu.
The only way to organize your images is with tags. Tags are visible between photos in the grid view and you can insert a new tag with a press and hold. Tags with the date are inserted automatically. Unfortunately, there's no easy way to jump straight to a tag.
Browsing the images is usually amazingly smooth - you can zoom and pan around 38MP images and the 808 PureView won't break a sweat. Even flicking through hundreds of images in the grid view is fast and effortless. There are only rare occasions when large photos take a while to zoom, but it's nothing major and the overall performance is great.
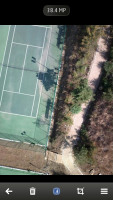
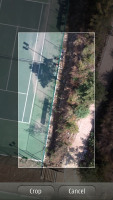
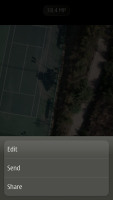
Viewing a single photo • Cropping • Some options • Sharing on Facebook and Flickr
When browsing a single image you'll see a button showing the resolution above the picture. A tap on it will reveal every single detail that is available for the picture - resolution, files size, date, ISO, white balance, location, even histogram.
The Gallery offers editing options too - adjusting image properties (including an auto-levels feature), cropping, rotating, flipping and resigning, along with adding effects, clipart and frames.
The ColorizIt app is also available, which creates a specific effect - a black and white photo with parts of it in color. The Silent Film Director app let's you create old-school looking clips (like a 20's film with the characteristic silent movie soundtrack).
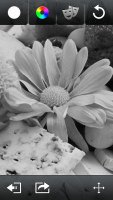
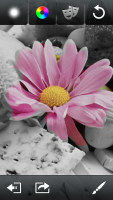
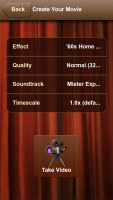
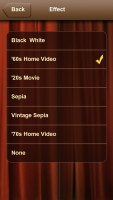
ColorizIt in action • Silent Film Director
Samsung Galaxy Camera
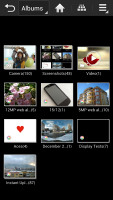
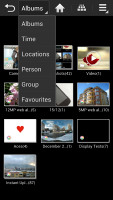
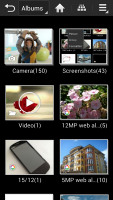
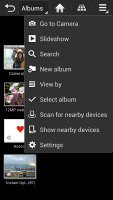
The Galaxy Camera has the new Gallery app we saw on the Galaxy Note II and the Galaxy S III running Android 4.1.2. It opens up in Albums view, but photos can also be sorted by Location, Time, Person (photos with tagged faces), Group and Favorites.
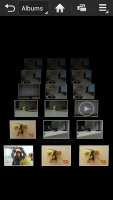
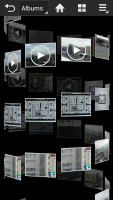
You can also switch between three view modes - rectangular grid, 3D grid and 3D spiral (which is the coolest but the least useful of all). In each of the three view modes, you can pinch zoom to make the thumbnails bigger. Unlike Sony's gallery though, you only get two zoom levels here.
Getting inside an album, the app switches into a split screen mode. The left side shows the folders, while the right displays all the photos in a rectangular grid.
When viewing a single photo, you'll find Share, Delete and Menu buttons above the photo, while below is a line of small thumbnails of all other photos in the album. You can tap those small thumbnails to move to other images or you can just swipe to the side.
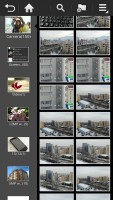
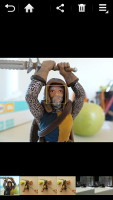
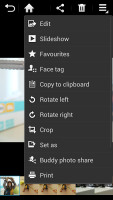
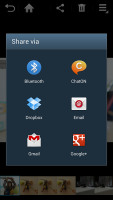
Split-screen interface in the gallery • viewing a single photo
The Galaxy Camera lets you select pictures from several different folders for batch operations.
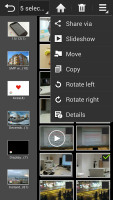
Selecting photos for batch operations
All the photos are displayed in full resolution the Galaxy Camera had no problem with panning, zooming and scrolling.
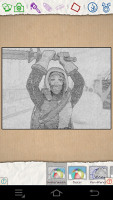
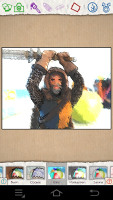
You have an integrated crop tool within the gallery, but tapping on the edit button will offer you to open the image within the Photo Wizard or the Paper Artist.
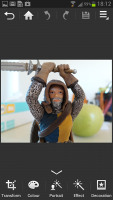
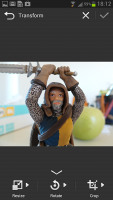
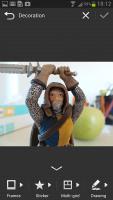
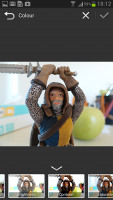
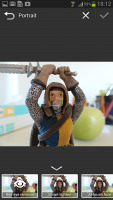
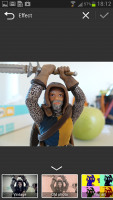
The Photo Wizard is TouchWiz's standard image editor and offers the basic set of imaging tools - resize, rotate, crop, picture adjustments (color, saturation, temperature, etc.), add effects or decoration, and some useful tools for portraits (red-eye removal, air-brush face, out of focus).
The Paper Artist editor allows you to transform a photo into paper sketches. The samples below explain everything.
Overall, the image gallery and editing options on the Galaxy Camera are far more advanced than this simplistic image viewer and editor on the 808 PureView. We don't know if the Samsung device will be our first choice for taking photos, but it's certainly better than the Nokia offering at viewing them.
Reader comments
- chrizz
- 14 Oct 2016
- Nug
is the 808 out of fashion, how do we update it? In love with the product ie 808

